
Air Con Outdoor Unit Placement: Where Should You Install It?
Why Air Con Outdoor Unit Placement Matters
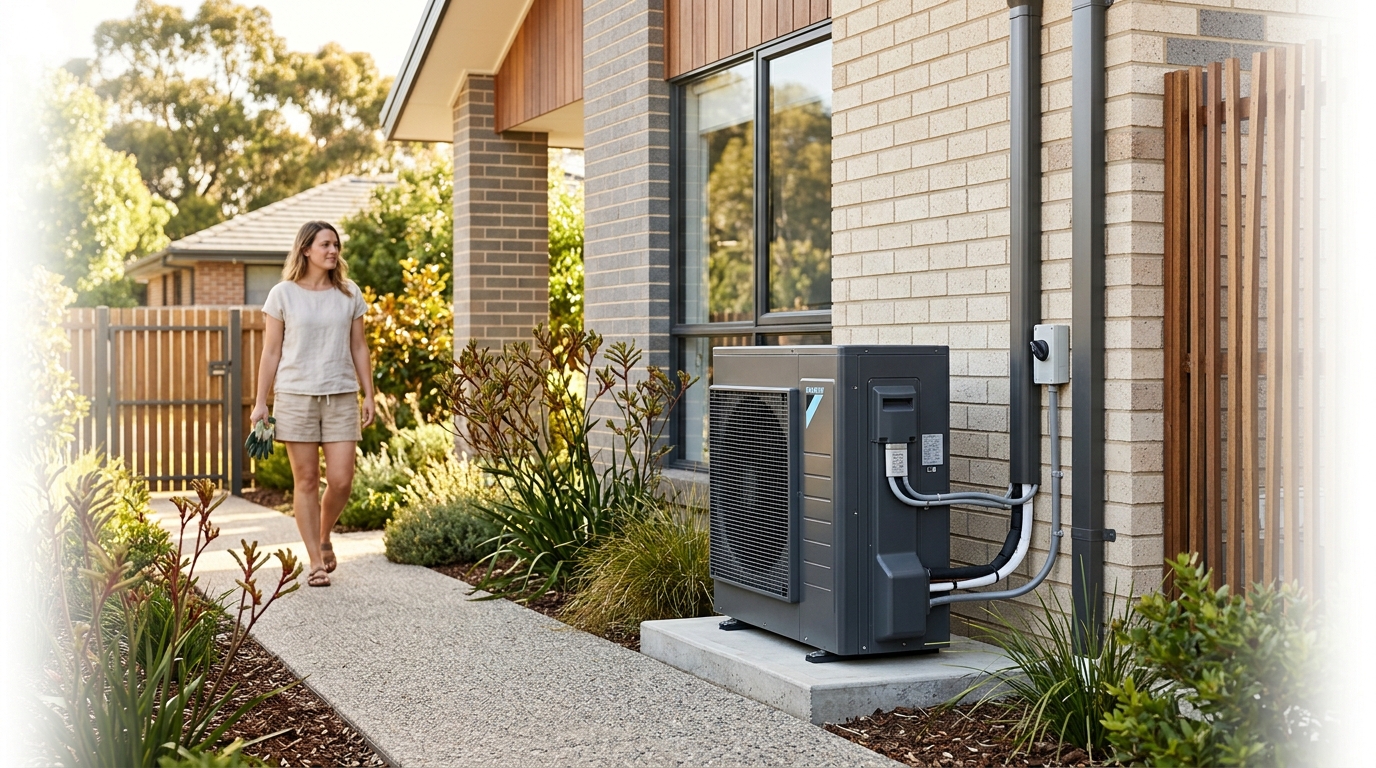
Air con outdoor unit placement is one of the most consequential decisions made during any split system installation, yet it rarely gets the attention it deserves. Put the outdoor unit in the wrong spot and you will pay for it through higher electricity bills, a shorter system lifespan and a compressor that struggles on the hottest days of the year. Get it right and your system runs efficiently for 15 years or more with minimal fuss.
This guide covers the five factors that every Australian homeowner should understand before an installer picks up a drill: sun exposure, airflow clearance, pipe run length, noise impact and access for routine maintenance. This is practical, installer-level advice, not a manufacturer brochure. By the end, you will know exactly what to ask for and what to push back on.
Key takeaways
- Air con outdoor unit placement directly affects efficiency, running costs and compressor lifespan
- North and south-facing walls with shade and clear airflow are ideal for most Australian homes
- Manufacturer clearances and short pipe runs prevent warranty voidance and efficiency losses
The Best Locations for an Outdoor AC Unit
Most split system air conditioners ship as a matched pair, with the outdoor unit doing the heavy lifting of heat exchange while the indoor unit handles airflow into your room. Where you position that outdoor unit has a direct bearing on how hard the compressor works, how much electricity it draws and how long the refrigerant circuit stays in good health. The ideal location is shaded, well-ventilated, structurally sound and close enough to the indoor unit to keep pipe runs short.
Shaded spots under a wide eave, a pergola or a carport roof are excellent choices, provided airflow is not blocked on the discharge side of the unit. The unit needs to pull in ambient air and push hot air away freely. A flat, stable, well-drained surface is non-negotiable. Standing water around the base accelerates corrosion on the cabinet and the refrigerant lines. The unit should also sit clear of any walkway or access path so it does not create a trip hazard or obstruct emergency egress.
Even a mid-range unit like the Daikin 5kW Inverter Split System LITE FTXF50WVMA ($1,589) has a compact outdoor cabinet, but compact does not mean you can squeeze it into a tight corner. Minimum clearance requirements still apply on all four sides, and ignoring them will void the manufacturer warranty in most cases.
North and South Walls: Why They Work Best
North and south-facing walls receive significantly less direct sun across an Australian summer day compared to east and west-facing walls. In the southern hemisphere, the sun tracks across the northern sky, meaning a north-facing wall does get some sun but at a higher angle that is easier to shade with an eave. South-facing walls stay in shade for most of the day year-round.
Less solar radiation hitting the outdoor unit means the refrigerant entering the compressor is cooler to begin with. A cooler starting temperature reduces the work the compressor has to do to reach the required discharge pressure, which translates directly into lower running costs and less wear on the compressor over time. If your home's layout gives you a choice, a south-facing wall is generally the safest bet for outdoor unit placement in most Australian climate zones.
Ground Mount vs. Wall Bracket: Which Should You Choose?
| Mounting Type | Best For | Key Advantages | Watch Out For |
|---|---|---|---|
| Ground-level concrete slab | Larger units (5kW and above), easy-access service areas | Extremely stable, simple for technicians to service, no structural load on walls | Requires a level, well-drained surface; unit sits lower and may be more exposed to debris and flooding |
| Wall bracket | Smaller units, tight spaces, areas prone to ground-level moisture | Keeps unit off wet ground, saves floor space, suits narrow side passages | Must be fixed to structurally sound masonry or solid timber framing; older weatherboard walls can transmit compressor vibration directly into the home |
A compact unit like the Fujitsu 3.5kW Lifestyle Range Inverter Split System ASTG12KMTC ($1,190) is a good candidate for wall-bracket mounting. Its lighter outdoor cabinet puts less load on the bracket and the wall behind it, making installation more straightforward in tighter spaces such as a narrow side passage or a small courtyard. The bracket itself must still be rated for the unit's weight and fixed into solid material. An installer who skips a proper structural check on the wall is cutting a corner that will cost you later, either in vibration noise through the wall or, in the worst case, a unit that works loose from its mount.
Clearance, Airflow and Pipe Run Rules to Follow
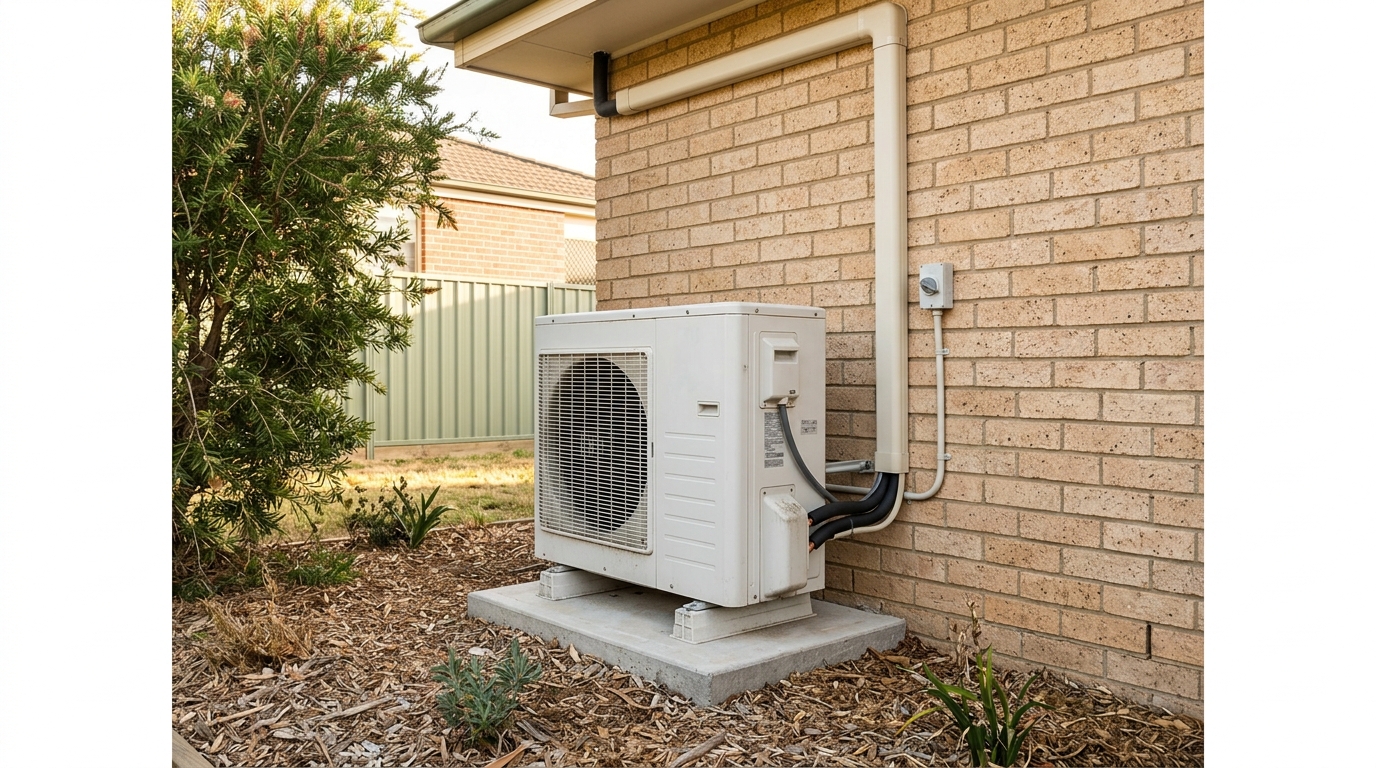
Outdoor unit placement is governed by a set of technical requirements that exist for good reason. Ignore them and you risk reduced efficiency, premature compressor failure and a voided manufacturer warranty. The following checklist covers the non-negotiable rules your installer should be working through before the unit goes on the wall or the slab.
- Check manufacturer minimum clearances on all sides. Most manufacturers specify at least 300 mm of clear space on each side, 500 mm in front of the discharge grille and 200 mm at the rear. Brands like Daikin split systems publish minimum clearance specs in their installation manuals, and these figures vary slightly by model and capacity. Always check the manual for your specific unit before confirming a location, not just the general rule of thumb.
- Confirm the discharge air has a clear, unobstructed path. The outdoor unit pushes hot air out through the front grille. If that air hits a wall, fence or enclosed structure and curls back around to the intake on the side or rear of the unit, you get recirculation. The compressor then works against pre-heated air rather than ambient air, which drives up running costs and puts extra strain on the refrigerant circuit. A clear line of sight from the discharge grille to open space is the goal.
- Keep the pipe run between indoor and outdoor units as short as possible. Most manufacturers recommend staying under 15 m for standard residential installations. Longer pipe runs mean more refrigerant in the circuit, greater pressure drop and more heat gain or loss along the line set. Every extra metre of pipe is a small but real efficiency penalty. If the only viable location pushes you past 15 m, discuss it with your installer before committing.
- Avoid directing discharge air at fences, walls or neighbouring windows. Hot air blasting against a timber fence accelerates weathering. Aimed at a neighbour's window, it becomes a noise and heat nuisance that can create disputes. Position the unit so the discharge path is clear of any fixed structure within at least two metres.
- Keep the unit away from leaf litter, mulch beds and areas prone to pooling water. Organic debris drawn into the outdoor coil restricts airflow and holds moisture against the fins, accelerating corrosion. Pooling water around the base does the same to the cabinet and refrigerant connections. A raised slab or wall bracket can help in gardens where debris accumulation is unavoidable.
Noise, Neighbours and Local Regulations
Outdoor air conditioning units produce between 45 dB and 60 dB of noise depending on the model, capacity and operating mode. That range sits somewhere between a quiet library and a normal conversation, but at night, in a residential street, even the lower end of that range can carry further than you expect and cause real friction with neighbours if the unit is poorly positioned.
The most common mistake is placing the outdoor unit directly beneath or beside a bedroom window, either your own or a neighbour's. Compressors cycle on and off throughout the night in heating mode, and that rhythmic hum is far more disruptive to sleep than a constant background noise. Position the unit as far as practically possible from any bedroom window, and orient the discharge grille away from sleeping areas.
Australian councils generally follow EPA noise guidelines that cap residential noise at around 45 dB at the property boundary after 10 pm. A unit running at 55 dB at one metre can still breach that limit at the fence line if the neighbour's bedroom is close by. Your installer should be factoring this in, not just the physical clearances. If you are unsure about your local rules, check with your council before installation rather than after a complaint is lodged.
Anti-vibration mounts are a straightforward and inexpensive addition that reduce the low-frequency hum transmitted through wall brackets and concrete slabs into the structure of the home. They will not silence a noisy unit, but they do take the edge off compressor vibration that would otherwise travel through the wall and into adjoining rooms. Acoustic barriers, such as a louvred screen or a dense hedge, can also reduce perceived noise at the boundary, provided they do not restrict airflow around the unit.
If your property is part of a strata scheme or body corporate, add an extra step before you book an installer. Most strata by-laws require written approval before any external fixture is attached to common property or the building facade. Skipping this step can result in the unit being ordered removed at your cost, regardless of how well it was installed. Get the approval in writing, keep a copy and make sure your installer knows the approved location before work begins.
Common Placement Mistakes and How to Avoid Them
Even experienced tradespeople occasionally cut corners on outdoor unit placement, and Australian homeowners often do not know enough to push back. These are the five mistakes that come up most often on residential installations, and what you can do to avoid each one.
- Placing the unit in a fully enclosed courtyard or alcove. A walled-in space with no clear exit route for discharge air is one of the worst spots you can choose. The hot air the unit expels has nowhere to go, so it recirculates back into the intake. The compressor then works against pre-heated air on every cycle, driving up running costs and wearing out components faster. If a courtyard is the only option, the discharge grille must face directly toward the open end of the space.
- Installing directly under a dripping gutter or downpipe. Constant water dripping onto the outdoor cabinet corrodes the casing, the fins and the refrigerant connections over time. Even a slow drip adds up across a wet season. Check the roofline above any proposed location before the unit goes in, and keep at least 500 mm of horizontal clearance from any downpipe.
- Positioning too close to a gas meter, electrical switchboard or flammable materials. AS/NZS 5149 sets minimum separation distances between refrigerant equipment and ignition sources. Your installer must comply with these requirements, not treat them as a suggestion. A unit mounted beside a gas meter or a timber fence stacked with firewood is a compliance issue and a safety risk.
- Choosing a location purely for aesthetics without considering pipe run length. A longer pipe run costs more to install, adds refrigerant to the circuit and introduces efficiency losses that compound over the life of the system. A compact entry-level unit like the Mitsubishi Electric 2.5kW Split System MSZAP25VGKD ($1,122) offers some placement flexibility thanks to its smaller outdoor cabinet, but even that flexibility has limits. Every extra metre of pipe is a real cost, both upfront and on your electricity bill.
- Ignoring future access for servicing. Outdoor units need to be cleaned and inspected at least once a year. A technician needs enough room to remove the top panel, access the coil and check refrigerant connections without contorting around a fence or a garden bed. If a technician cannot reach the unit comfortably, the service will be rushed or skipped entirely, and that shortcut will shorten the life of your system.
Ready to Choose the Right System for Your Home?
Getting outdoor unit placement right comes down to five principles: minimise sun exposure, favour north or south-facing walls, maintain manufacturer clearances on all sides, keep noise away from bedrooms and boundaries, and leave enough room for a technician to service the unit properly. Follow these and your system will run efficiently and reliably for well over a decade. Ignore them and you will be paying the price in higher bills and early repairs.
Premium brands such as Mitsubishi Electric split systems offer compact outdoor unit designs that give installers a little more flexibility in tighter spaces, but the same placement principles apply regardless of brand or budget. Before you confirm a location with your installer, talk through each of these factors and make sure the chosen spot ticks every box. When you are ready to compare models and pricing, browse our full range of split systems to find the right unit for your home.
Frequently Asked Questions
Where should the outdoor unit of AC be placed?
The outdoor unit of an AC should be placed on a north- or south-facing wall in a shaded, well-ventilated spot away from direct sunlight. It needs a flat, stable surface with adequate clearance on all sides to allow proper airflow and heat exhaust. A licensed installer should always confirm the final location based on your specific property layout before any work begins.
Where is the best place to put an outdoor AC unit?
The best place to put an outdoor AC unit is a shaded, north- or south-facing wall with good airflow, a short pipe run to the indoor unit and easy access for servicing. Avoid enclosed courtyards, west-facing walls that cop full afternoon sun and any spot where water pools after rain. These poor locations restrict airflow, reduce efficiency and can shorten the unit's lifespan.
How far should an outside AC unit be from a house?
The outdoor unit is typically mounted on or very close to the house wall, so this question usually refers to clearance from surrounding walls, fences and obstructions. As a general guide, allow around 300 mm on the sides, 500 mm at the front discharge and 200 mm at the rear. Exact figures vary by brand and model, so always check the installation manual for your specific unit.
Does an air con unit have to go on an outside wall?
An air con unit does not have to go on an outside wall, but it must be installed outdoors where it can exhaust heat freely. Options include a ground-level slab mount in a side passage or courtyard, a rooftop installation or a wall bracket on any exterior surface. The key constraint is keeping the refrigerant pipe run between the indoor and outdoor units as short as practically possible.
Need expert advice?
Our team can help you choose the right air conditioning system for your space.