
Why Is My Aircon Leaking Water Inside? Causes and Fixes
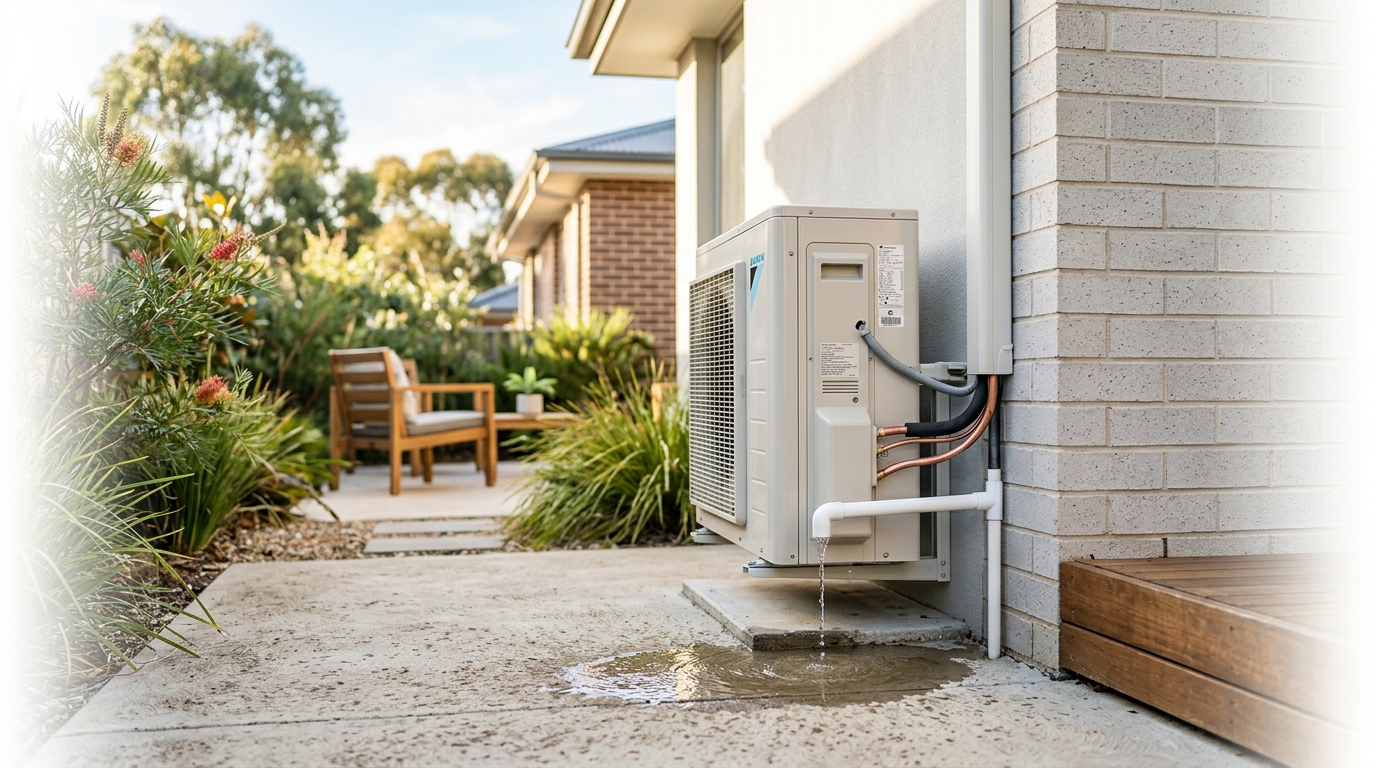
Why Is Your Aircon Leaking Water Inside?
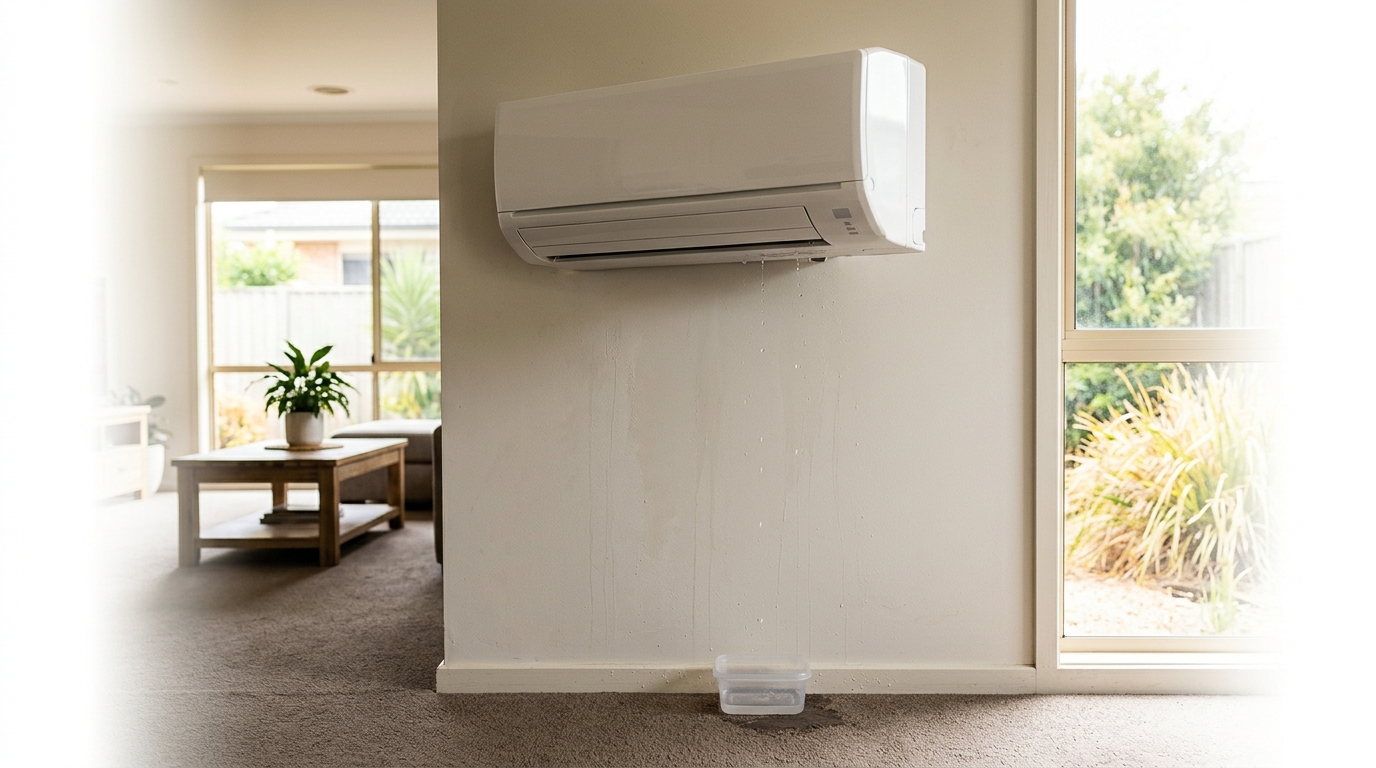
You walk into your living room on a sweltering Australian summer afternoon and notice a puddle forming beneath your indoor unit, or water stains spreading across the wall below it. An aircon leaking water inside is one of the most common complaints homeowners raise during peak cooling season, and it is not something to leave until later. Left unchecked, the leak can damage walls, ceilings, flooring and even the unit itself.
The good news is that most leaks trace back to one of five root causes: a blocked condensate drain line, dirty air filters, low refrigerant levels, a damaged drain pan, or an incorrectly installed unit. Some of these you can sort out yourself in under an hour. Others need a licensed technician. This article walks through each cause clearly so you can work out what you are dealing with and take the right next step.
Key takeaways
- Aircon leaking water inside usually stems from a blocked drain line, dirty filters, low refrigerant, a damaged pan or poor installation.
- Most homeowners can fix blocked drains and dirty filters themselves in under an hour.
- Refrigerant work and drain pan replacement require a licensed technician under Australian law.
5 Common Causes of an Aircon Leaking Water Inside
Water leaking from an indoor unit is almost always a drainage or temperature problem. The air conditioner extracts moisture from the air as it cools your room, and that moisture needs a clear path out of the building. When something interrupts that path, or causes more condensation than the system can handle, water ends up where it should not. Here are the five causes you need to know about.
Blocked Condensate Drain Line
The condensate drain line is a small pipe that carries the moisture your aircon pulls from the air to the outside of your home. Over time, dust, mould, algae and debris accumulate inside the line and restrict or completely block the flow of water. When the line is blocked, water backs up into the drain pan until it overflows and spills into your room.
A blocked condensate drain line is the single most common cause of indoor water leaks. You will typically notice a steady drip or a pool of water directly beneath the indoor unit. In some cases the unit will display an error code or shut itself off automatically once the pan reaches capacity. Clearing the blockage is usually straightforward using a wet-dry vacuum or a diluted vinegar flush.
Dirty or Clogged Air Filters
Your aircon's air filter catches dust, pet hair and airborne particles before they reach the internal components. When the filter becomes heavily clogged, it restricts the airflow passing over the evaporator coil. With insufficient warm air moving across it, the coil drops below freezing point and ice forms on its surface.
The problem becomes visible when the unit is switched off or cycles down and the ice begins to melt. The sudden volume of water overwhelms the drain pan and spills out of the unit. You may also notice reduced cooling performance or a musty smell before the leak appears. Filters should be cleaned every four to six weeks during periods of heavy use, and more often in dusty environments or homes with pets.
Low Refrigerant Levels
Refrigerant is the substance that absorbs heat from your indoor air and transfers it outside. If the refrigerant level drops, the pressure inside the evaporator coil falls too low and the coil becomes excessively cold, causing it to ice over. When that ice melts, it produces far more water than the drain pan is designed to handle.
Low refrigerant almost always points to a leak somewhere in the refrigerant circuit, not simply a top-up that is overdue. Refrigerant does not get consumed during normal operation. Under Australian law, only a licensed refrigeration technician holding an ARCtick licence is permitted to handle, recover or recharge refrigerants. This is not a DIY repair. If you suspect low refrigerant, switch the unit off and call a technician promptly, as running the system in this state can cause compressor damage.
Damaged or Rusted Drain Pan
The drain pan sits directly beneath the evaporator coil and collects all the condensation that drips off it during normal operation. In older units, particularly those that have been running for 10 or more years, the pan can develop cracks, rust spots or warping from years of constant moisture exposure. Once the pan is compromised, water escapes through the damaged area before it ever reaches the drain line.
A cracked or rusted drain pan will often produce a leak even when the drain line is completely clear, which can make diagnosis confusing at first. A technician can inspect the pan during a service visit and replace it if needed. It is a relatively straightforward job and far less expensive than leaving the leak to cause water damage to your ceiling or walls.
Incorrect Installation or Unit Not Level
A split system indoor unit needs to be mounted with a very slight tilt toward the drain outlet so that gravity pulls condensation in the right direction. If the unit is installed perfectly flat, or tilted the wrong way, water pools inside the unit rather than flowing toward the drain. Similarly, if the drain line runs uphill at any point along its route, water cannot flow out and will back up into the system.
This issue is particularly common after DIY installations or rushed jobs where the mounting bracket was not checked with a spirit level. You may notice the leak starts almost immediately after installation, or worsens after the unit has been moved or remounted. A qualified installer can re-pitch the drain line and re-level the unit to correct the problem permanently.
What to Do When You Notice a Leak: Immediate Steps
The moment you spot water dripping from your indoor unit, act quickly to limit damage. Switch the unit off first, then work through these steps in order. Most of them take only a few minutes and can prevent a minor inconvenience from turning into a costly repair or water damage claim.
- Turn the unit off at the wall. Switch the aircon off at the wall controller and then at the circuit breaker or power point. This stops the system from producing more condensation, prevents ice from building up further on the evaporator coil and removes any risk of water reaching electrical components inside the unit.
- Protect your flooring and walls. Place old towels around the base of the indoor unit and position a bucket or tray directly beneath the drip point. If water has already reached the wall, press a dry cloth against the surface to absorb moisture before it soaks into the plaster or paint.
- Check and clean the air filter. Remove the front panel of the indoor unit and slide out the filter. If it is visibly grey, clogged with dust or matted with pet hair, rinse it under warm water, let it dry fully and refit it. A blocked filter is one of the most common causes of leaks and takes under 10 minutes to fix.
- Inspect the drain line outlet outside. Find where the condensate drain line exits the building, usually a small pipe near the outdoor unit or through an external wall. Check whether the outlet is blocked by dirt, leaves, spider webs or debris. Clear any visible obstruction and check whether water flows freely when you pour a small amount into the drain pan inside.
- If the problem persists or the cause is unclear, call a licensed technician. If the leak continues after cleaning the filter and clearing the drain outlet, or if you cannot identify the source, stop troubleshooting and book a service call. Issues like low refrigerant, a cracked drain pan or an incorrectly pitched drain line all require professional tools and expertise to fix safely.
If your unit is older and this is not the first time you have dealt with a leak, it may be worth considering an upgrade rather than another repair bill. Browse our range of split system air conditioners to see current models with improved drainage design and better energy efficiency.
DIY Fixes vs. When to Call a Professional
Not every aircon leak requires a technician, but some repairs are legally restricted or carry a real risk of making the problem worse if attempted without the right tools. Knowing which tasks sit in which category saves you time, money and the frustration of an unnecessary service call.
| Task | DIY or Pro? |
|---|---|
| Cleaning air filters | DIY. Remove, rinse under warm water, dry fully and refit. Do this every four to six weeks during heavy use. |
| Clearing a blocked drain line with a wet/dry vacuum | DIY with caution. Attach the vacuum to the drain outlet and apply suction to dislodge the blockage. A diluted white vinegar flush can help clear algae build-up. Avoid using high-pressure air, which can force debris further into the line. |
| Checking for mould in the drain line | DIY with care. Shine a torch into the drain outlet and look for dark residue or slime. A vinegar flush treats minor mould growth. If the mould is extensive or inside the unit itself, call a technician for a full clean. |
| Replacing a damaged or rusted drain pan | Pro. The drain pan sits inside the unit and requires partial disassembly to access and replace correctly. Incorrect fitting can create new leak points. |
| Topping up or recharging refrigerant | Pro only. Legally required under Australian law. See note below. |
| Re-levelling the indoor unit | Pro. Adjusting the mounting bracket and drain pitch requires the unit to be safely removed from the wall and remounted with a spirit level. Incorrect levelling will cause the leak to continue or worsen. |
Refrigerant work is not a grey area in Australia. Under the Australian Refrigeration Council (ARC) regulations, only a licensed technician holding a valid ARCtick licence is legally permitted to handle, recover, recharge or dispose of refrigerants. Attempting to top up refrigerant yourself is illegal, carries significant fines and can cause serious injury. If you suspect a refrigerant leak, switch the unit off and call a licensed technician. Do not run the system in that state, as it risks permanent compressor damage.
A well-maintained, quality unit is far less likely to develop drainage problems in the first place. Models like the Daikin 2.5kW Inverter Split System LITE FTXF25WVMA (from $989) and the Mitsubishi Electric 2.5kW Split System AP Series MSZAP25VGKD (from $1,040) are engineered with reliable condensate management and are built to handle the demands of the Australian climate. If you are weighing up a replacement, Daikin split systems and Mitsubishi Electric split systems are two of the most consistently reliable brands available in Australia, with strong after-sales support and readily available spare parts.
How to Prevent Your Aircon from Leaking Water in the Future
Preventing an aircon leak is far easier than dealing with one mid-summer. Four simple habits cover the vast majority of leak causes and take very little time to build into your routine. Consistent filter cleaning, annual servicing, a quick check of the outdoor drain outlet and a watchful eye at the start of each season will keep your system running dry and trouble-free.
- Clean your filters every four to six weeks during summer. This is the single most effective thing you can do. A clean filter maintains proper airflow over the evaporator coil, which prevents the coil from icing over and producing a sudden flood of meltwater. In dusty homes or households with pets, clean them every three to four weeks instead.
- Book an annual professional service before the cooling season starts. A qualified technician will flush the condensate drain line, inspect the evaporator coil for ice build-up or mould, check refrigerant pressure and confirm the unit is still correctly levelled. This one visit catches the problems that DIY maintenance cannot reach.
- Check the outdoor drain outlet periodically for blockages. Insects, spiders, leaves and dirt can block the drain outlet from the outside, causing water to back up into the system even when the indoor components are perfectly clean. A quick visual check every month or two takes under a minute and can save you a service call.
- Monitor the unit closely during the first few days of heavy use each season. The transition from months of inactivity to full cooling load is when problems tend to surface. Check beneath the indoor unit for drips or moisture on the wall during the first week of summer use, and address anything unusual before it becomes a bigger issue.
Starting with a quality unit also makes a real difference. Well-engineered systems are designed with reliable condensate management from the ground up, which reduces the risk of drainage problems developing over time. The Daikin 2.5kW Inverter Split System LITE FTXF25WVMA (from $989) and the Mitsubishi Electric 2.5kW Split System AP Series MSZAP25VGKD (from $1,040) are both solid examples of units built to handle Australian conditions with drainage systems that perform consistently across years of use.
Still Having Trouble? Time to Upgrade Your System
Most cases of an aircon leaking water inside come down to one of five fixable issues: a blocked drain line, dirty filters, low refrigerant, a damaged drain pan or an installation problem. Acting quickly on any of these protects your walls, ceilings and flooring from the kind of water damage that turns a minor repair into a major expense.
That said, if your unit is leaking repeatedly despite regular maintenance and professional servicing, the system may simply be reaching the end of its useful life. Older units develop compounding problems that no single repair will fully resolve, and the cost of ongoing fixes adds up fast. A mid-size replacement like the Daikin 3.5kW Inverter Split System LITE FTXF35WVMA (from $1,194) offers modern drainage engineering, better energy efficiency and the peace of mind that comes with a fresh installation. Ready to find a reliable replacement? Browse our full range of split system air conditioners and get the right unit matched to your space.
Frequently Asked Questions
Why is my aircon leaking water inside the house?
The most common reason an aircon leaks water inside the house is a blocked condensate drain line, which prevents collected moisture from draining away properly. Other causes include dirty filters, low refrigerant, a damaged drain pan and incorrect installation. If you notice a leak, turn the unit off immediately as the safest first step before investigating further.
Why is my split air conditioner leaking water inside the house?
Split air conditioners are the most common type affected by indoor water leaks because the indoor unit hangs on the wall, meaning any overflow drips directly into the room below. Both the evaporator coil and drain pan sit inside that wall-mounted unit, so a blocked drain line or frozen coil will always produce visible indoor leaking. Start by checking the air filter, as a clogged filter is the easiest problem to identify and fix yourself.
How do I stop my AC unit from leaking water inside?
To stop your AC unit from leaking water inside, turn the unit off, clean or replace the air filter, and check whether the outdoor drain line outlet is blocked or obstructed. If those steps do not resolve the leak, call a licensed technician to inspect the refrigerant level, drain pan and installation angle. Note that refrigerant work requires an ARC licence in Australia, so attempting it yourself is illegal.
Can I still run my AC if it's leaking water?
You should not run your AC if it is leaking water. Continued operation can worsen ice build-up on the evaporator coil, cause more water to overflow into the room and create electrical hazards or mould growth inside the unit. Turn the system off and diagnose the cause before restarting it.
Need expert advice?
Our team can help you choose the right air conditioning system for your space.