
Installing a Split Air Conditioner: What You Need to Know Before Booking
What Installing a Split Air Conditioner Actually Involves
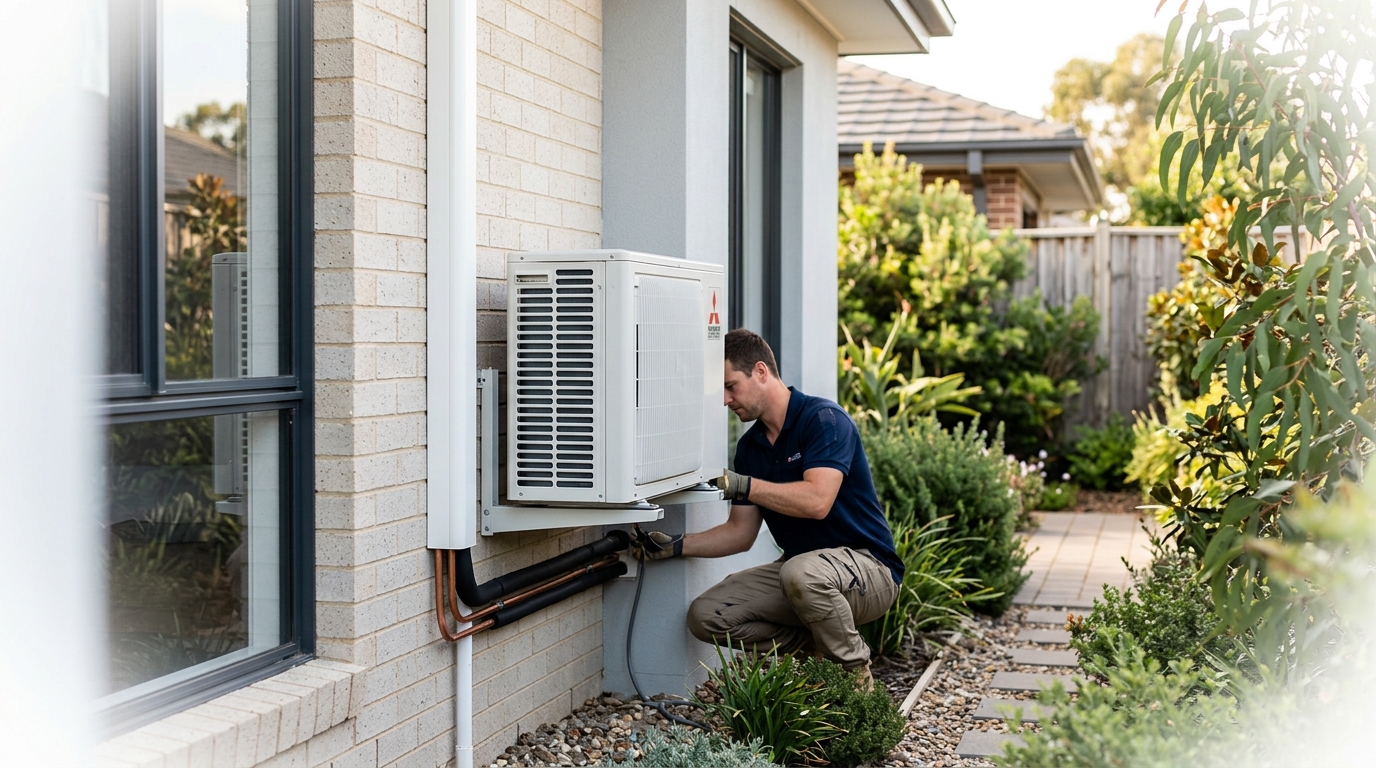
A split system air conditioner consists of two units: an indoor head unit mounted on the wall and an outdoor compressor unit connected by refrigerant lines, electrical wiring and a condensate drain. Installing a split air conditioner is one of the most common home improvement jobs across Australia, and for good reason. Split systems are relatively compact, energy-efficient and suited to a wide range of room sizes. They are also far less disruptive to install than ducted systems, which require ceiling space and ductwork throughout the home.
At a high level, the installation process involves mounting the indoor unit, positioning the outdoor compressor, drilling a core hole through the wall to run the refrigerant lines and drain, connecting the electrical supply and then pressure-testing and charging the refrigerant circuit before the system is commissioned. A straightforward single-room installation typically takes two to four hours for a qualified technician.
This article covers everything you need to know before booking: who is legally allowed to do the work, what your site needs to meet, what the job will cost and how to prepare so the installer can get straight to work.
Key takeaways
- Installing a split air conditioner requires a licensed technician with ARCtick and electrical credentials.
- Most installations take two to four hours and cost between $600 and $1,200 in labour.
- Checking wall material, circuit availability and outdoor placement before booking prevents cost surprises.
Can You Install a Split System Yourself in Australia?
In Australia, installing a split system air conditioners is not a job a homeowner can legally complete on their own. Handling refrigerant and connecting the refrigerant circuit requires an ARCtick licence issued by the Australian Refrigeration Council. The electrical connection to the unit also requires a licensed electrician. These are not optional formalities. They are legal requirements under Australian law, and skipping them carries real consequences.
If unlicensed work is discovered, your manufacturer warranty will almost certainly be voided. Most home and contents insurance policies also exclude damage caused by unlicensed trades, which means a refrigerant leak or electrical fault traced back to a DIY installation could leave you without cover for any resulting damage. State regulators can also issue fines to both the person who performed the work and, in some cases, the homeowner who commissioned it.
There are a handful of tasks a homeowner can handle before the installer arrives. Choosing the best location for the indoor and outdoor units, clearing the area of furniture and obstacles, and confirming there is a suitable power circuit nearby are all things you can sort out in advance. Some homeowners also arrange the core hole drilling separately to reduce the installer's time on site, though this is worth confirming with your technician first. Everything beyond that preparation work must be carried out by a qualified professional.
The licensing rules exist for good reason. Refrigerant handling done incorrectly can damage the system, harm the environment and create safety hazards. A properly commissioned installation by a licensed technician will also run more efficiently and last longer, so the cost of professional labour is genuinely worth it.
What Licences Does Your Installer Need?
Before any work begins, ask your installer for two things: their ARCtick refrigerant handling licence number and their state electrical contractor or electrician licence number. A reputable installer will have both and will be happy to provide them on request. You can verify an ARCtick licence directly on the Australian Refrigeration Council website using the licence number provided.
The ARCtick licence covers the handling, recovery and recharging of refrigerants such as R32 and R410A, which are used in most modern split systems. The electrical licence covers the hard-wiring of the unit to your home's switchboard or a dedicated circuit.
Some states have additional requirements worth knowing about. In Queensland, electrical contractors must hold a licence issued by the Electrical Safety Office. In Victoria, installers must be registered with the Victorian Building Authority for certain types of work. If you are unsure what applies in your state, ask your installer directly or check with your state's fair trading or building authority before booking.
Step-by-Step: How the Installation Process Works
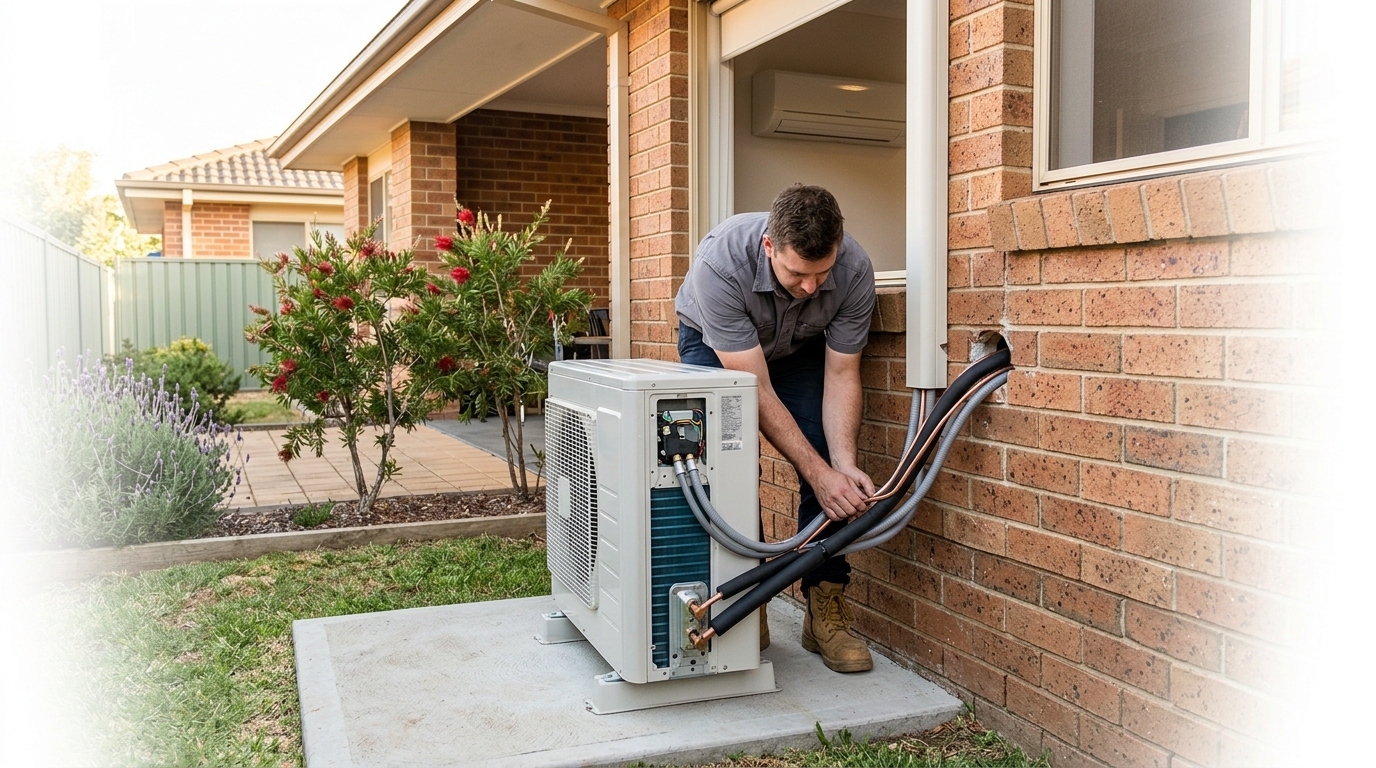
A professional split system installation follows six consistent stages, from choosing where the indoor unit goes through to the final commissioning check. Understanding each stage helps you prepare your home properly and know what to expect on the day. Most straightforward installations move through all six steps in two to four hours.
-
Choose the indoor unit location. The indoor head unit should be mounted high on an exterior wall, away from direct sunlight, heat sources like ovens or lamps, and obstructions that would block airflow across the room. The ideal position allows the unit to distribute air evenly without blowing directly onto a seating area or bed.
Homeowner tip: Walk through the room before the installer arrives and identify two or three candidate walls. Check for obstructions on the other side of each wall (pipes, beams or switchboards) that could complicate drilling. -
Mount the indoor bracket and drill the wall penetration. The installer fixes a mounting plate to the wall, then drills a core hole (typically 65 to 75 mm in diameter) through the wall at a slight downward angle so the condensate drain runs away from the building.
Homeowner tip: Know your wall material before the installer arrives. Brick, double brick and concrete all require different drill bits and take longer than timber frame. Letting your installer know in advance means they bring the right equipment. -
Run the refrigerant pipes, electrical cables and condensate drain. The interconnecting pipe set is fed through the core hole and routed down the exterior wall to the outdoor unit. On the inside, the cables and drain line are typically concealed in a plastic conduit trunking fixed to the wall.
Homeowner tip: Clear a path along the exterior wall where the trunking will run. Remove pot plants, outdoor furniture or anything else that would slow the installer down. -
Mount and secure the outdoor unit. The compressor can be placed on a concrete ground slab, a wall bracket or a roof bracket depending on your site. It needs clear space around it for airflow and should be kept out of direct afternoon sun where possible.
Homeowner tip: Clear the outdoor area of vegetation, garden tools and stored items before the installer arrives. If you have a dog or other pets, arrange to keep them away from the work area for the day. -
Connect the refrigerant lines, electrical wiring and drain. The installer connects the pipe set to both units, wires the indoor unit to the outdoor unit and connects the system to the electrical supply. This stage requires both an ARCtick licence and an electrical licence, as covered earlier in this article.
Homeowner tip: Confirm in advance whether your home has a suitable dedicated circuit available. If a new circuit is needed, the installer may need to schedule a separate electrical visit or allow extra time. -
Pressure-test, vacuum the system and commission. Before any refrigerant is released into the circuit, the installer pressure-tests the pipe connections to check for leaks, then uses a vacuum pump to remove moisture and air from the lines. Once the system passes both checks, the refrigerant valves are opened and the unit is powered on for a full operational test. The installer will run the system through heating and cooling modes, check the airflow and demonstrate the controls to you before signing off.
Homeowner tip: Have your remote control manual handy and ask the installer to walk you through the timer and mode settings. Popular brands like Daikin split systems come with app connectivity features that are worth setting up on the day while the technician is still on site.
Site Requirements to Check Before Your Installer Arrives
Checking your site conditions before booking an installation can save you from unexpected costs on the day. Installers price jobs based on a standard set of assumptions, and anything outside those assumptions, such as double brick walls, a long pipe run or no available circuit, will add time and materials to the quote. Running through the checklist below before you call takes about 10 minutes and gives your installer the information they need to quote accurately.
| Requirement | What to Check |
|---|---|
| Wall material | Identify whether the installation wall is timber frame, brick veneer, solid brick or double brick. Timber frame is the quickest to drill through. Double brick takes significantly longer and may require a diamond core drill, which some installers charge extra for. Confirm the wall type when requesting a quote so there are no surprises. |
| Distance between indoor and outdoor units | Most standard installations assume a pipe run of up to four or five metres. If the outdoor unit needs to be placed further away, for example on the opposite side of the house or on a roof, expect a surcharge for the additional pipe set and labour. Measure the likely route before booking and mention it upfront. |
| Outdoor unit placement | Check whether the outdoor unit can sit on a ground slab, or whether a wall bracket or roof bracket will be needed. Ground placement is the simplest and cheapest option. Wall and roof brackets add materials and labour costs. Different brands also have different footprints and clearance requirements, so check the spec sheet for your chosen unit. Mitsubishi Electric split systems, for example, have specific minimum clearance distances published in their installation manuals. |
| Electrical circuit availability | Most split systems require a dedicated 15-amp or 20-amp circuit. Check your switchboard for a spare circuit breaker slot and confirm whether a dedicated circuit already runs to the installation area. If a new circuit needs to be run from the switchboard, this adds both time and cost, and in some cases may require a separate visit from an electrician. |
| Condensate drainage | The indoor unit produces condensate water that needs to drain away. In most cases the drain line runs through the wall and discharges outside, either onto the ground or into a drain. Check whether there is a suitable discharge point near the outdoor unit location. If the drain needs to be extended to reach a floor drain or laundry trough, this adds pipe and labour to the job. |
Flagging these details when you request a quote means your installer can price the job accurately from the start. It also reduces the chance of the job being paused mid-installation while additional materials are sourced or a second trade is called in. A few minutes of preparation on your end makes for a much smoother day for everyone involved.
How Much Does It Cost to Install a Split Air Conditioner in Australia?
A standard single-split system installation in Australia typically costs between $600 and $1,200 in labour for 2026, depending on the complexity of the job. That range covers a straightforward installation on a timber-frame wall with a short pipe run and an existing dedicated circuit. Add-ons such as extended pipe runs, new electrical circuits or wall brackets push the total higher, so it pays to understand what each line item covers before you accept a quote.
The labour cost alone does not include the unit itself. Hardware is a separate expense, and the price varies considerably by capacity and brand. A 2.5kW Daikin LITE (FTXF25WVMA) retails from $989, making it one of the more affordable starting points before installation labour is added. For larger rooms, a popular mid-range choice like the 5kW Daikin LITE (FTXF50WVMA) at $1,589 suits most living rooms up to around 40 m². The Mitsubishi Electric 5kW AP Series (MSZAP50VGKD) at $1,653 is another well-regarded option with built-in reliability for Australian conditions. Add the labour cost to whichever unit you choose and you have a realistic all-up budget to work with.
The table below breaks down the most common cost add-ons beyond the base installation labour.
| Cost Item | Typical Price Range (AUD) | When It Applies |
|---|---|---|
| Standard installation labour | $600 to $1,200 | All installations. Covers mounting, drilling, pipe run up to 3 to 4 m, connection and commissioning. |
| Extended pipe run | $50 to $100 per metre beyond the standard 3 to 4 m included | Applies when the outdoor unit is placed further from the indoor unit than the standard allowance. |
| New dedicated electrical circuit | $200 to $400 | Required when no suitable circuit exists at the switchboard for the installation area. |
| Wall bracket for outdoor unit | $100 to $200 | Needed when the outdoor unit cannot be placed on a ground slab and must be mounted on a wall or fence. |
| Removal and disposal of old unit | $100 to $200 | Applies when an existing system needs to be decommissioned and removed before the new unit is installed. |
Always get at least two quotes before committing to an installer. Prices vary between businesses and between regions, and a second quote gives you a useful reference point. Confirm whether each quote includes GST, as some sole traders quote exclusive of tax and the difference can be meaningful on a larger job. Ask for an itemised quote that separates labour, materials and any add-ons so you can compare like for like.
Ready to Install? Here's How to Get Started
Getting a split system installed without surprises comes down to a few straightforward steps. Choose a unit sized correctly for your room, confirm your installer holds both an ARCtick refrigerant licence and a state electrical licence, and prepare your site in advance to keep the job moving. Clearing the installation area, knowing your wall material and checking your switchboard for a spare circuit are all things you can do before the installer arrives.
When you request quotes, ask for itemised breakdowns that separate labour, materials and any add-ons. That makes it easy to compare two quotes side by side and spot where the differences lie. Get at least two quotes and confirm that both include GST.
Once you know what you need, the best place to start is finding the right unit. Browse our full range of split system air conditioners to compare capacity, brand and price before you book your installer.
Frequently Asked Questions
How long does it take to install a split system air conditioner?
A standard single-room split system installation takes two to four hours for a qualified technician. That covers mounting the indoor unit, drilling the wall penetration, running the pipe set, connecting the electrical supply and commissioning the system. Jobs involving double brick walls, long pipe runs or a new electrical circuit will take longer, so allow extra time if any of those conditions apply to your home.
Do I need council approval to install a split system in Australia?
In most Australian states, a standard residential split system installation does not require council approval. However, some local councils have rules about where outdoor units can be placed, particularly in heritage-listed areas or strata-titled properties. If you live in a strata complex, check your owners corporation by-laws before booking, as approval from the body corporate is often required before any external work can proceed.
What size split system do I need for my room?
As a general guide, allow roughly 125 watts of cooling capacity per square metre of floor space in a well-insulated room. A bedroom of around 15 to 20 m² typically suits a 2.5kW unit, while a living room of 30 to 40 m² generally calls for a 5kW unit. Ceiling height, insulation quality, sun exposure and the number of occupants all affect the final sizing, so it is worth using a sizing calculator or asking your installer to confirm before you buy.
Can a split system be installed on an internal wall?
Yes, a split system can be installed on an internal wall, though it adds complexity and cost. The refrigerant pipes, electrical cables and condensate drain still need to reach the outdoor unit, which means routing them through ceiling cavities or wall spaces rather than straight through an exterior wall. This typically increases the pipe run length and the labour time, so confirm the routing plan with your installer before committing to an internal wall position.
How much refrigerant does a split system need?
Most residential split systems come pre-charged with enough refrigerant for a standard pipe run of up to five metres. If your pipe run is longer than that, your installer will need to add refrigerant on site, which requires an ARCtick licence and will be charged as an add-on. The refrigerant type used in most modern units is either R32 or R410A. Your installer will confirm which applies to your chosen unit during commissioning.
How often does a split system need to be serviced after installation?
A split system should be serviced at least once a year to maintain efficiency and extend its working life. A standard service includes cleaning the filters and indoor coil, checking refrigerant pressure, inspecting electrical connections and testing the drain line. Skipping annual servicing is one of the most common reasons split systems underperform or fail early, so it is worth building the cost into your ongoing budget from the start. Most split system air conditioners will last 10 to 15 years with regular maintenance.
What happens if my split system is installed incorrectly?
An incorrectly installed split system can result in voided manufacturer warranty, reduced efficiency, refrigerant leaks and potential electrical hazards. If unlicensed work is later discovered, your home insurance may also refuse to cover any resulting damage. This is why using a licensed installer with both an ARCtick refrigerant licence and a state electrical licence is not just a legal requirement but a practical safeguard for your investment.
Need expert advice?
Our team can help you choose the right air conditioning system for your space.